Click here to read the first part of this article: Changing your scooter’s brake fluid – Part 1.
Now to the actual brake fluid change. All this work is done and pictures are taken on an Aprilia SR50 scooter. Your scooter might be different, the concept is always the same. Find the reservoir, find the bleeder valve, pump, suck out the old fluid and add in the new fluid. But how?
Here is how…
First of all you need to familiarize yourself with where your brake fluid reservoir is. If it is somewhere visible and accessible, that’s good! Less work. 🙂 If it’s like in this Aprilia SR50, get ready to dismantle some fairings. The tools you will need for this depends on the screws. Usually philips screwdrivers, allen keys, wrenches need to be laying around. 🙂
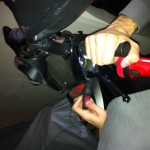
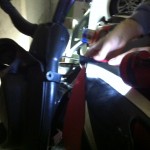
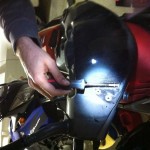
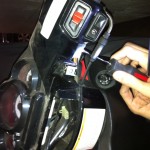
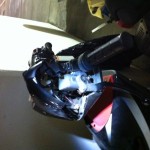
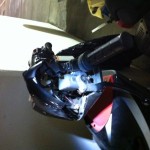
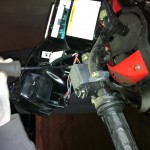
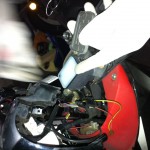
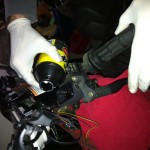
I’m not going into details on how to remove all the fairings, here are some pictures showing the removal process.
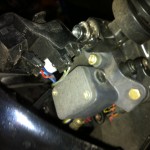
After removing all the fairings you will see the brake reservoir. It’s the black squarish, thing. For this SR50 all we had to do was to shift and tilt the fairing. A complete removal was not needed.
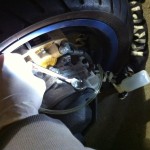
While you’re looking at your brake reservoir, before opening the screws, go ahead and locate the brake fluid bleeder valve. It’s a round screw in the shape of a valve, usually protected by a soft plastic cover. We didn’t have a chance to take a picture of it, but it’s easy to spot. Go to your front or rear brake, and look for it on the brake piston. Here is a picture of our bleeder kit tied to this scooter’s bleeder valve.
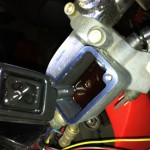
Once you secured your bleeder kit to your bleeding valve, go ahead and remove the brake reservoir cap. It’s as easy as removing the screws holding the brake reservoir cap. Usually under the cap, there are one or two plastic parts (check the pictures below). Especially be careful with the one that is closer to the fluid, try to keep it clean all the time.
Now that you opened the brake reservoir, if the brake fluid is sitting there for quite a while (like more than 1-2 years), you’ll see that its color is now pretty dark. This will actually help you 😉
Very slowly start squeezing the brake lever, do not look directly into the reservoir, because squeezing the lever might shoot brake fluid drops in your eyes ( happened to me! ). You will see the brake fluid slowly filling up your bleeding kit container. This is where a friend helping you will be very handy. You should never see the reservoir empty! This is very important (See pictures below for an empty reservoir). The instant the reservoir gets empty you’ll start inserting air bubble into the brake line. Having air in your brake line is the least thing you want.
While squeezing and releasing your brake lever, slowly start adding new brake fluid to the reservoir. Squeezing while topping will push the old brake fluid out through the bleeding valve and fill the brake line and the reservoir with the new fluid. Remember not to overfill your reservoir.
After a while (depending how fast/good you squeeze, the length of your brake line and the size of your brake reservoir), you will start seeing clear brake fluid coming off your valve (in your bleeder tube). This means you’re done!
Tighten your bleed valve, fill up your brake reservoir, close and seal it. Now test your brake lever. It should not feel squeeshy, spongy, soggy. It should feel firm. If it’s not, that means you have air in your brake system.
What to do if my brake is not firm?
You should go back to the first step of opening your brake reservoir and valve and start pumping your lever while adding brake fluid. At some point you’ll start seeing bubbles in your bleeder kit’s tube. Do this until you see them no more. Put everything back together and test your brake again. It should feel firm now.
Well, I guess at this point, hopefully, you have a brake system full of new brake fluid. Go ahead and enjoy the ultimate brake power of your shiny scooter. Remember to brake for stray cats! 😉

